CG100X Dashboard Mileage Repair Operation Guide:
One of key functions of the
CGDI CG100X is mileage adjustment function. This guide is about how to use this function.
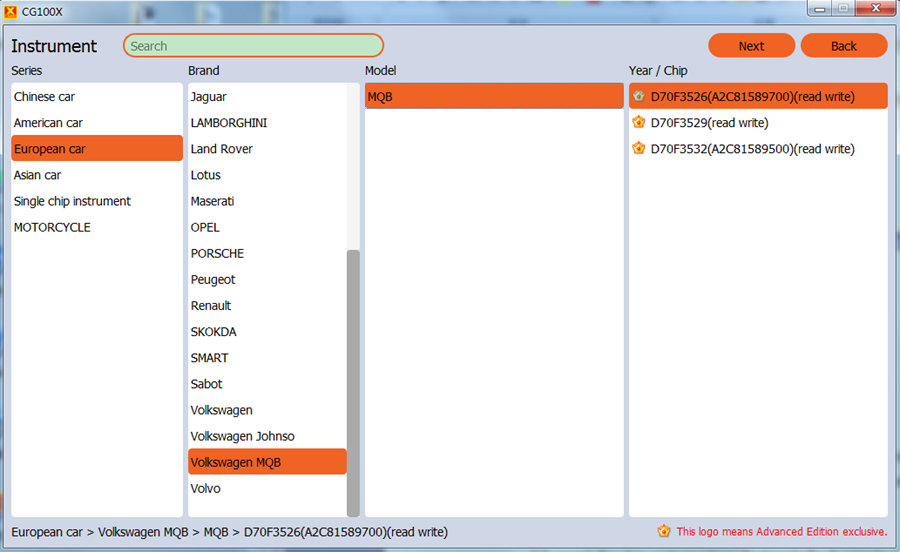
Start by navigating to 'Dashboard' and choose your vehicle's series, brand, model, and corresponding year/chip.
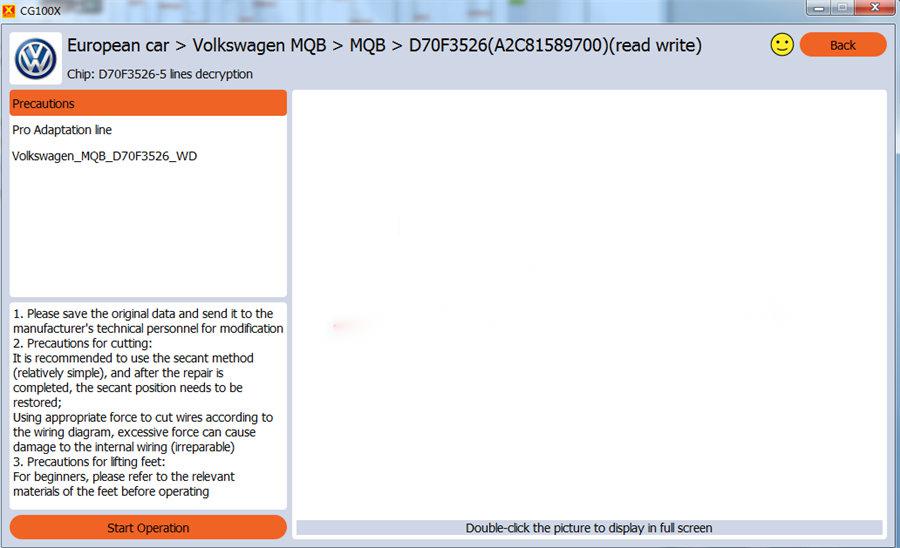
To access operation instructions, which include safety precautions, EEPROM adapter necessities, and a wiring diagram, either double-click the year/chip or select 'Next'.
To carry out the process, click 'Start Operation' and follow the steps.
 Here is one case we will use as an example:
- 2019 Toyota Camry mileage repair
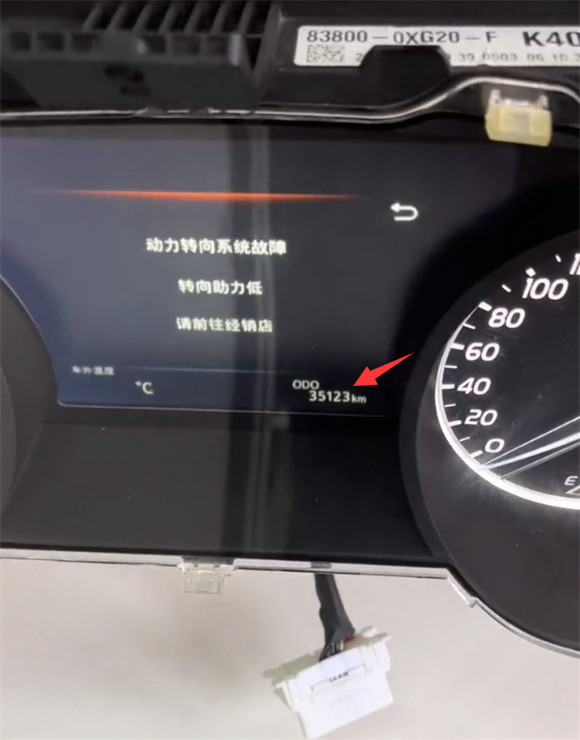
- Current mileage: 75861km
- Targeted mileage: 35123km
- With R7F701406 BGA chip
Tools used:
- CG100X programmer
- 35X- CAN Adapter
How to operate:
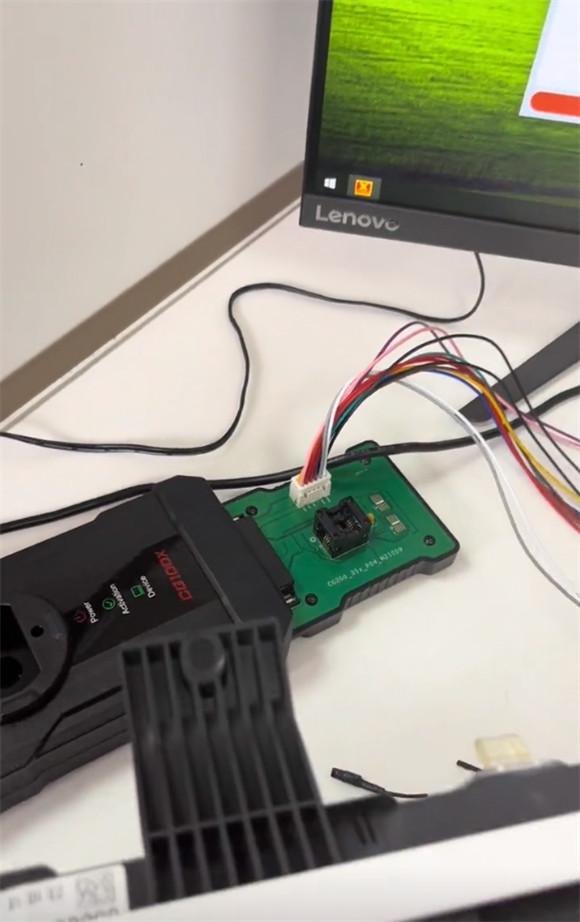
To begin, establish a connection between CG100X and your computer.
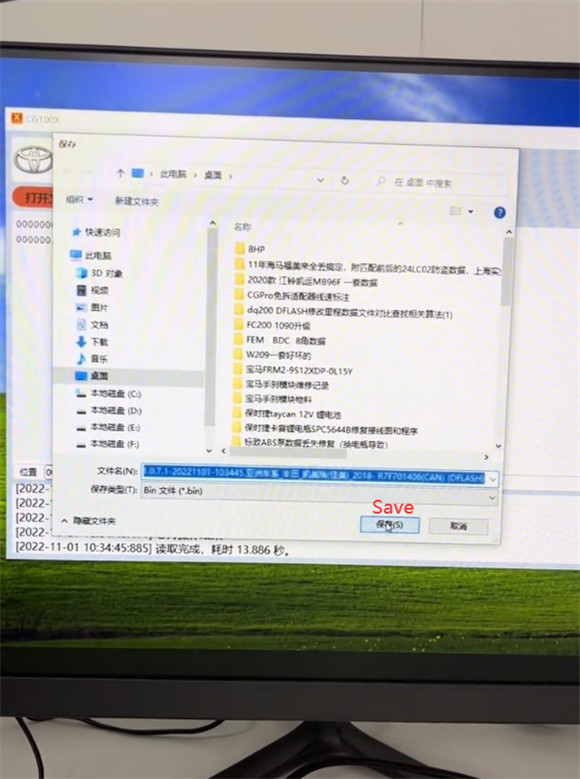
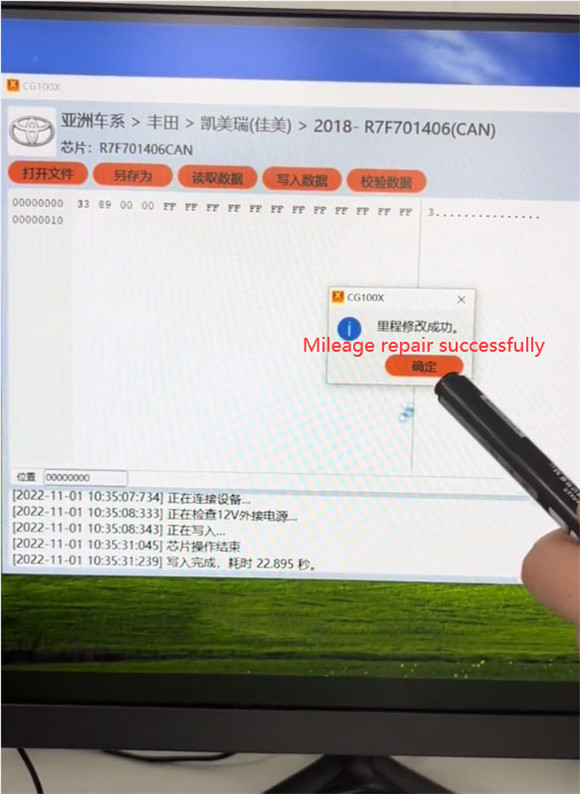
Launch CG100X software and navigate to 'Dashboard' >> 'Asian car' >> 'TOYOTA' >> 'CAMRY' >> '2018- R7F701406 (CAN)'.
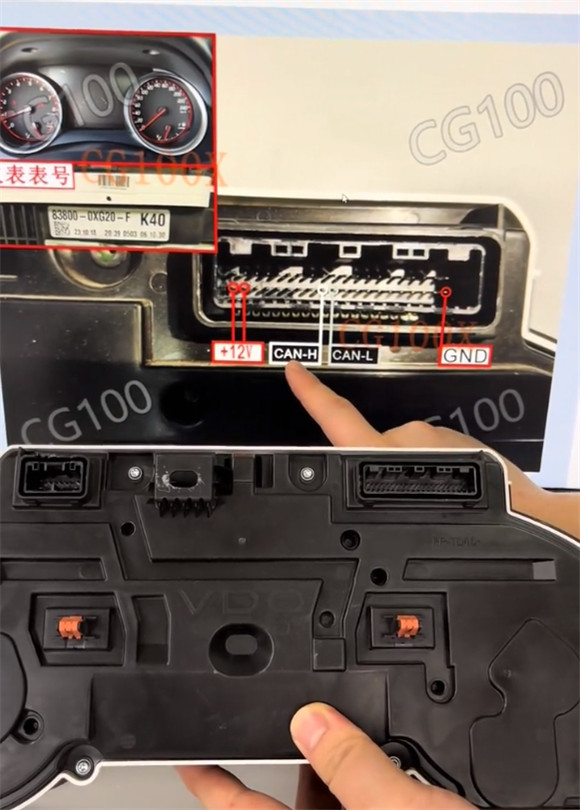
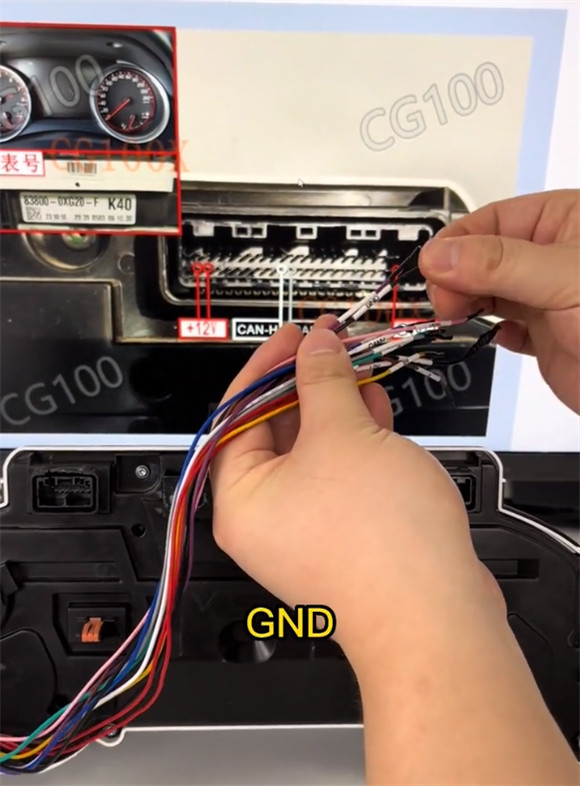
Ensure you refer to the wiring diagram - 5 cables will need connection (CAN-H, CAN-L, GND, +12V). If you don't differentiate the cables based on color, you can refer to the specific names labeled on the CAN cable for identification.

Next, connect CG200 35X-CAN Adapter to your dashboard using the CAN cable, then link to the CG100X

Upon successful connection, press 'Start operation'.
Make sure to capture and store a backup of your original data.
Confirm the identified kilometer value, and input the new kilometer value.
Note: There's no need to press 'write'.
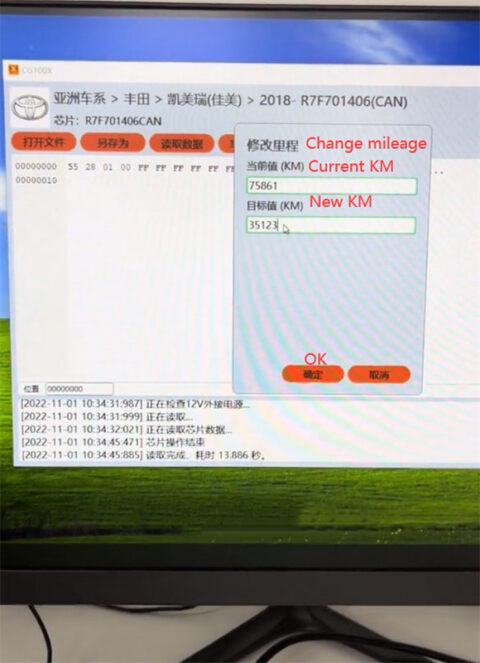
After a brief wait, the mileage will be successfully modified.
Conclude by disconnecting the device and powering up to test the dashboard - the mileage should now match the original dashboard's value.